I am so blessed to have a dad that is incredibly gifted in so many areas. One thing that we share (and that he taught me) was a love and appreciation for woodworking. I went down to see him for Father’s Day this year, and he was giving me a tour of all the small updates he has made to his shop. And! A friend of his had given him some scrap walnut wood that had barely survived a fire. So, naturally, we decided that we needed to make a cutting board.
The process for this project was very simple. Choosing the wood and pattern you want is probably the most involved part. There are a lot of great resources for the best woods for cutting boards. For in-depth discussion on it, do a Google. The short version is go with hardwoods such as maple, beech, ash, walnut, and cherry.
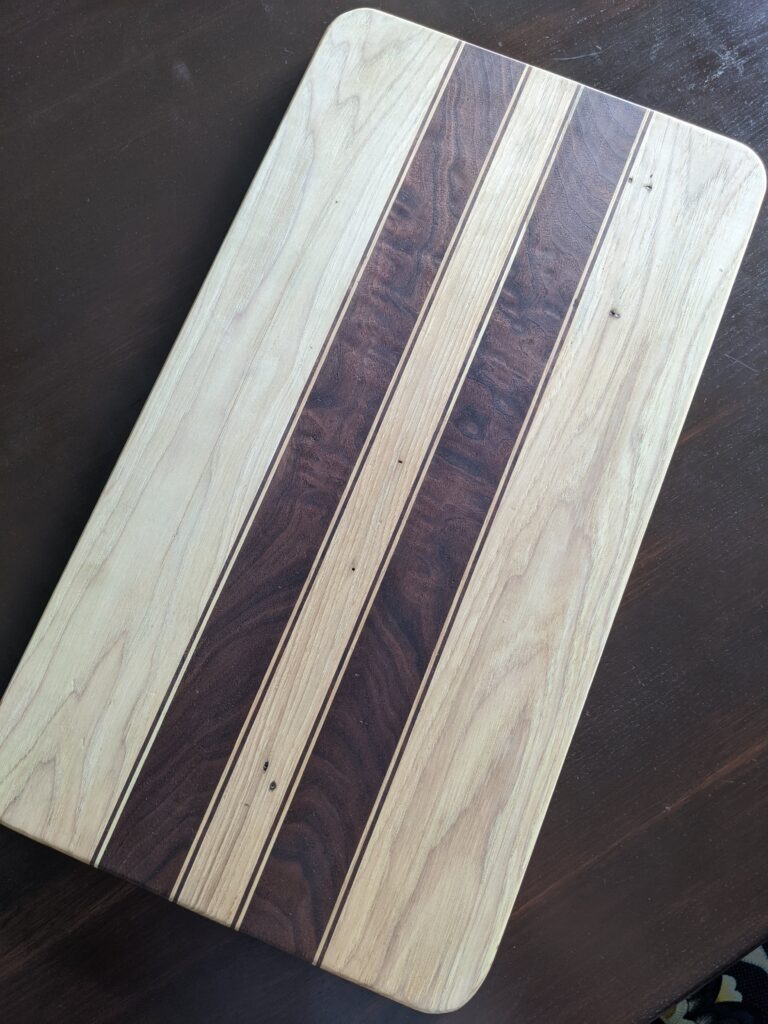
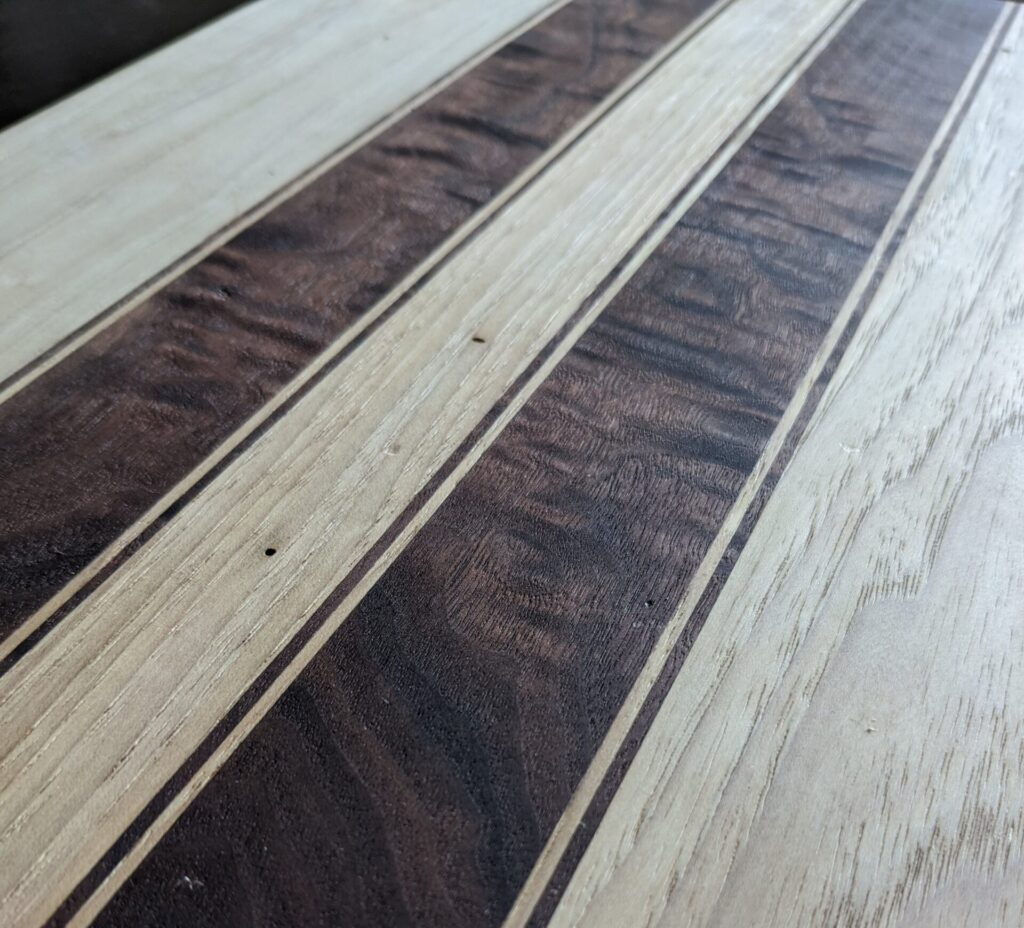
I used walnut and hickory, because I like the color combo and my dad has used hickory in the past with good success.
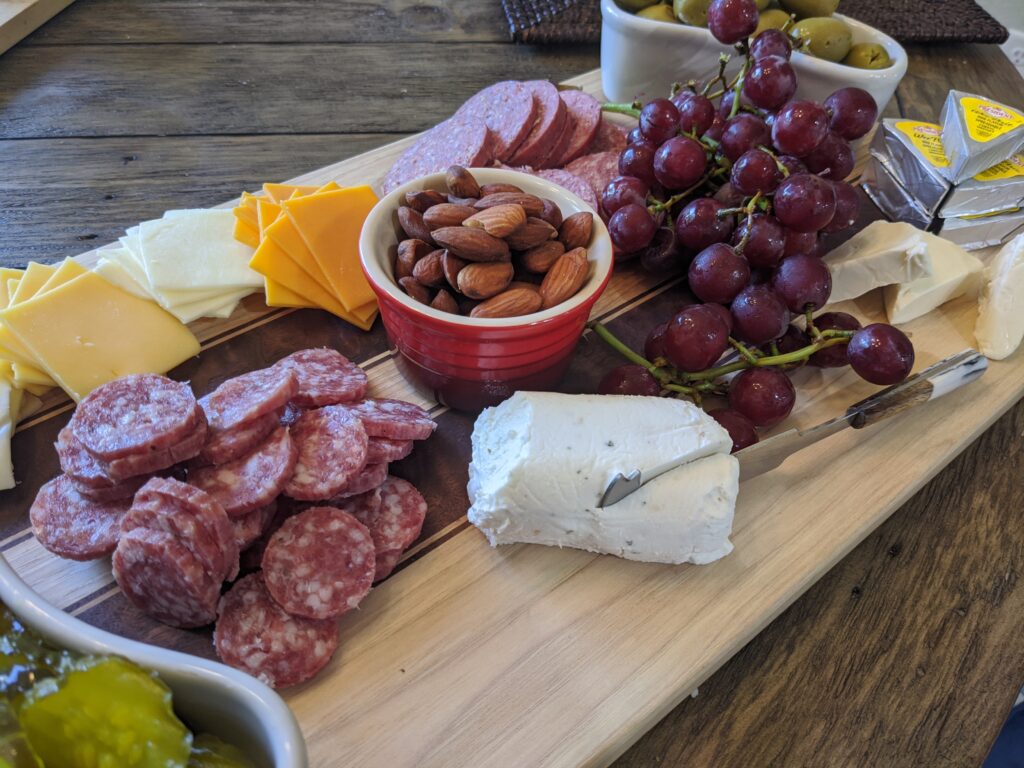
Once you’ve chosen your wood, decide on a pattern and overall size. I was going to use mine as a cheese tray, so I wanted enough room for a fancy array.
Another consideration for length was my dad’s planer. His planer tends to leave snipe marks, or simply, places at the beginning and end of a board where the blades dig in deeper than the rest of the board. You can typically see it when you apply finish. We planned the length to cut away the snipe.
Fancy Cheese Array
On the table saw, I ripped each of my pieces to width, including some 1/8 inch strips for the pinstripes. Next, we glued it up and clamped it. After about an hour of glue drying time, we sent it through the planer until it was smooth on both sides.
Using an old spray paint lit, I marked the rounded edges and rough cut them out with a band saw. I sanded the corners down to size with an oscillating drum sander. With a palm router, I rounded over the corners and then hit the entire piece with 220 grit.
When cutting boards get wet for the first time, the grain on the board will raise and jack up all of your perfect sanding work. I pre-raised the grain with a wet rag, let it dry, and the re-sanded with 220 and 320 girt sandpaper on the orbital sander.
The final step is to apply a sealant of some type. My dad has a super secret recipe of food grade beeswax and mineral oil that I applied heavily and wiped off the excess with a clean cloth. I waited 24 hours and applied a second coat. Smooth like butter.